3D model from a photo: make it and show it in AR
Turn a photo of an object into a 3D model with AI, place it in a scene and open it in AR on a phone. Step by step, plus what makes a good photo.
4 min read
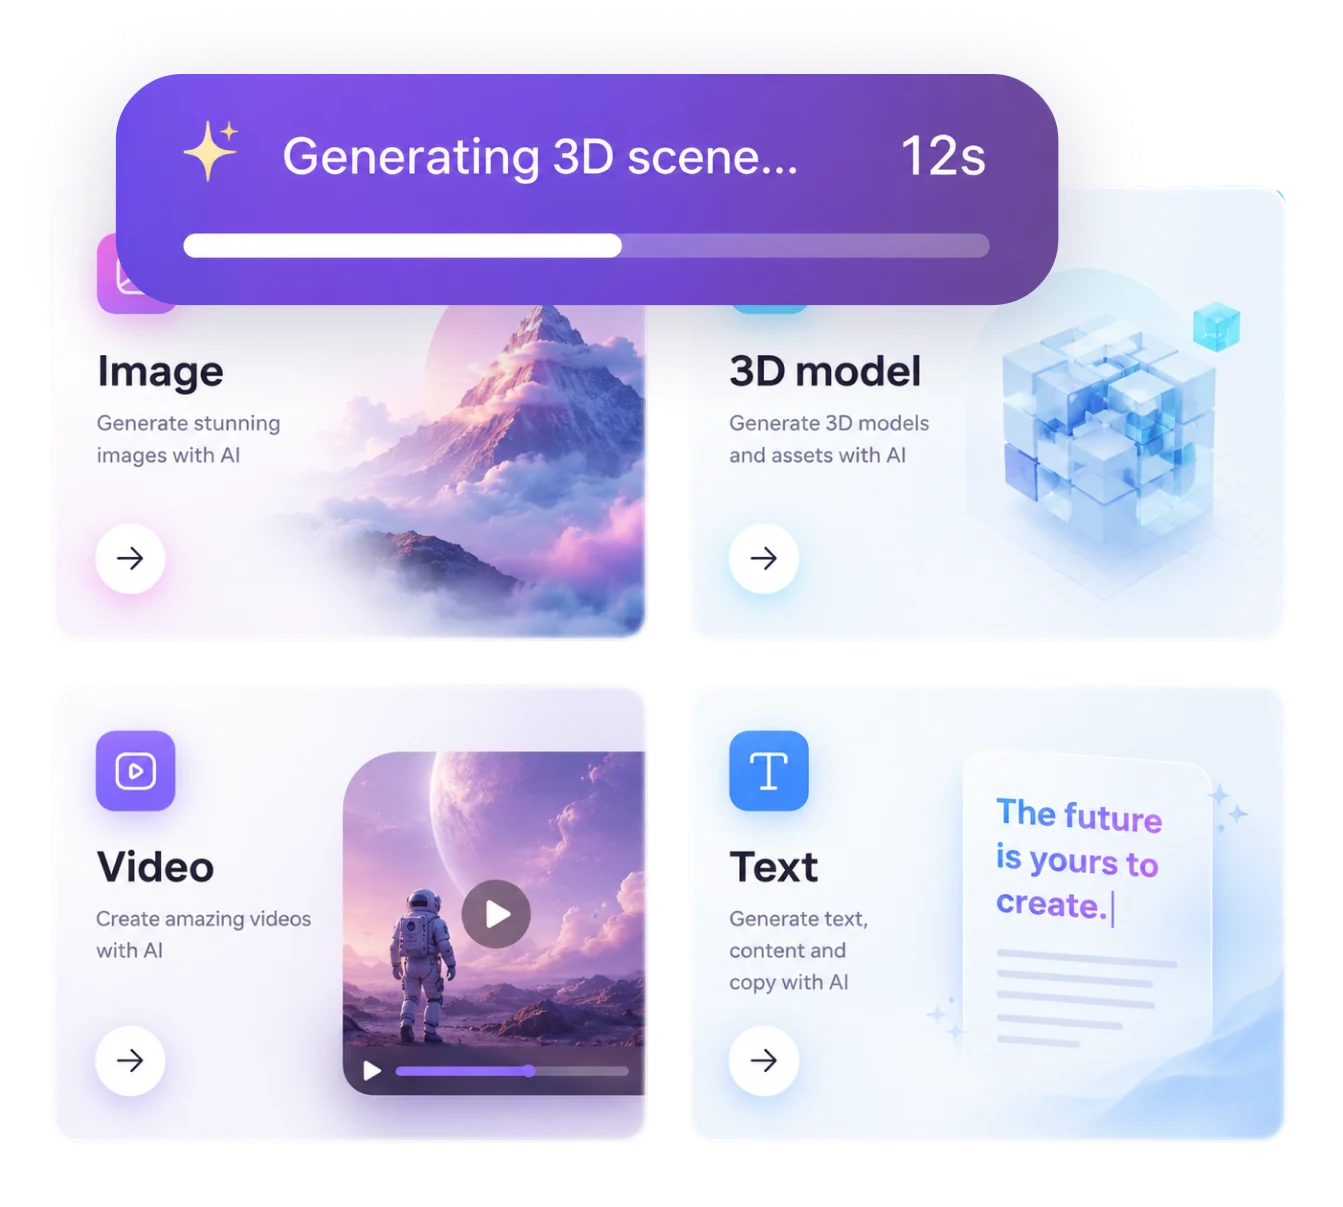
Taking a photo of an object and getting a 3D model of it used to mean days of work for a 3D artist. Now AI builds a first version in a couple of minutes. In ARClip the model lands straight in your scene, and from there it opens in AR on a phone from a link.
What makes a good photo
AI sees the object from one side and works out the rest on its own, so the photo decides almost everything:
- One object in the frame. A mug, a sneaker, a toy or a chair — not a shelf full of things or a whole room.
- The whole object. Nothing cut off by the edge of the frame or hidden behind a hand.
- Even light. AI can mistake hard shadows and glare for shape or pattern.
- A three-quarter view. Slightly from above and to the side: you see more sides than from straight ahead.
- A calm background. You can remove a busy one right in the editor — more on that below.
Step 1. Upload the photo
Create a project in ARClip and drag the photo onto the canvas — PNG, JPG and WebP all work. The picture goes into the scene like any other object.
Step 2. Remove the background
Select the picture, and quick actions appear in the AI bar at the bottom of the screen. If the background is busy, press Remove BG — only the object stays.
Step 3. Press "→ 3D"
In the same quick actions, press → 3D. Generation usually takes from half a minute to a couple of minutes, and the finished model drops into the scene by itself. You can keep working on the scene while it is being made.
No photo? Switch the AI bar to 3D model and describe the object in words. That is also where you pick the style — Realistic, Cartoon or Low-poly — and the Detail level. For AR on a phone, low-poly is the lightest option.
Step 4. Finish the model
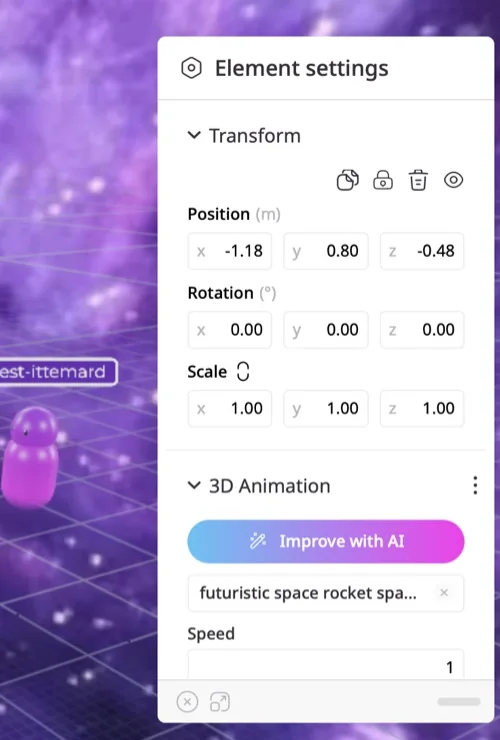
A generated model is an ordinary object in the scene. First give it its real size: from a single photo, AI has no way of knowing how big the object is. After that, treat it like any model: materials in the Material editor, animation on the timeline, a reaction to a tap with States and Events.
Not happy with the result? Select the model and press Improve with AI: it is generated again from the original and your description.
Step 5. Show it in AR
- In the Scenes panel, set the scene's trigger to Surface — the model will stand on the floor or a table.
- Press Publish to get a link and a QR code.
- Open the link on a phone, and the model is right there in your room. No app needed: it all runs in the browser, and on iPhone through an App Clip too.

What it costs
Generation and background removal use AI credits: the free plan has none, and paid plans come with 1,500 a month or more. Everything else is free: the editor, publishing to AR and the web, and working as a team.
What it can't do yet
To be straight about the limits:
- A model is built from one photo — you can't combine several shots from different sides yet.
- There is no automatic rigging for characters: you animate a model with keyframes on the timeline.
- You can't simplify the mesh of a finished model — for a light model, pick low-poly when you generate it.
- You can export a model as GLB or STL.
If any of that is a deal-breaker, look at the specialised generators — we compared them with ARClip honestly: ARClip or Meshy, ARClip or Tripo, ARClip or Rodin. You can also use both: generate the model there and build the scene and the AR in ARClip — GLB, FBX and OBJ files all work.
More from the blog
 AI & agents
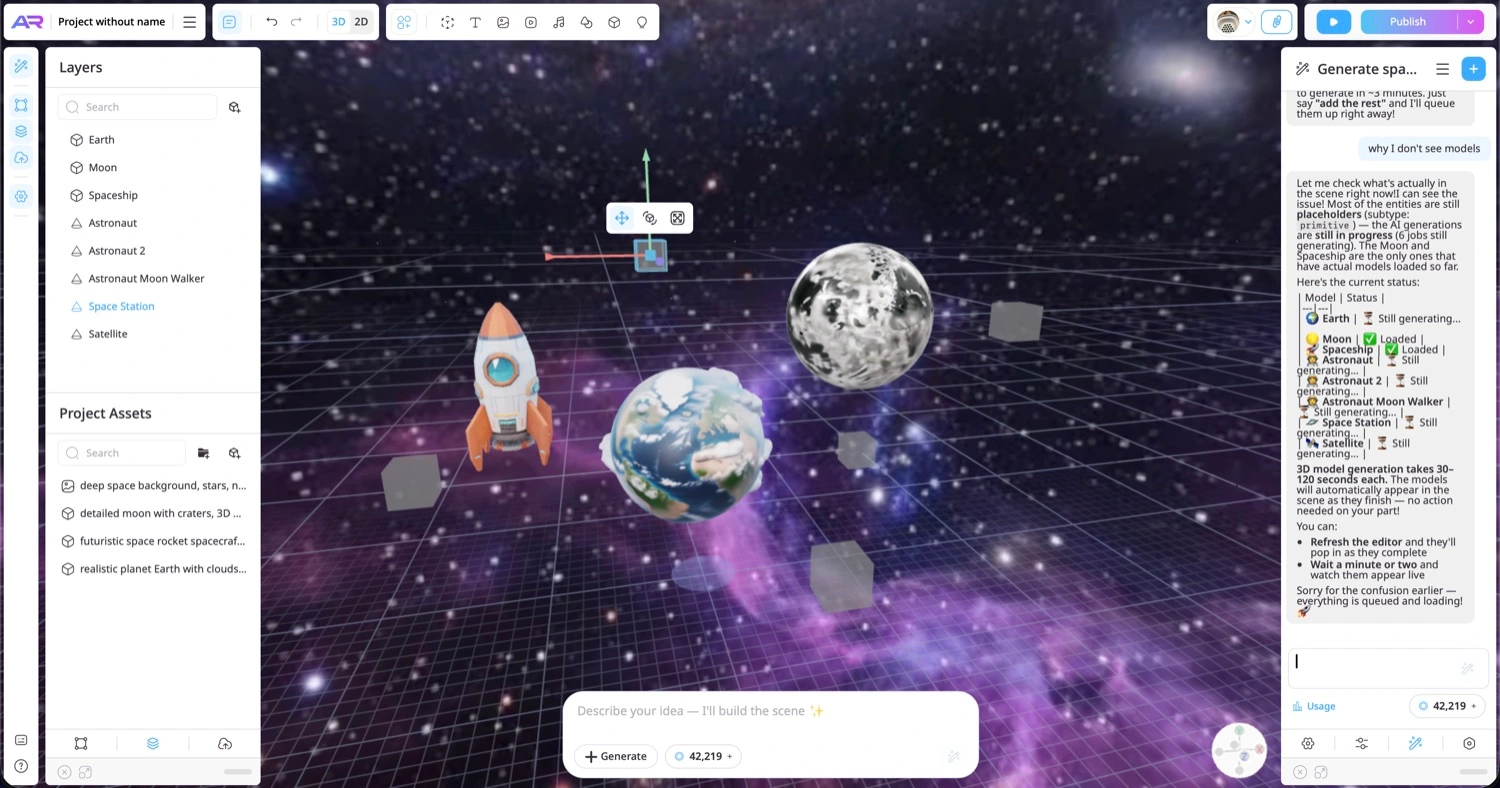
MCP for 3D: how Claude and Cursor build scenes in ARClip
What MCP is, how to connect ARClip to Claude, Claude Code and Cursor, and what an agent can do in a live 3D scene — with example prompts.Read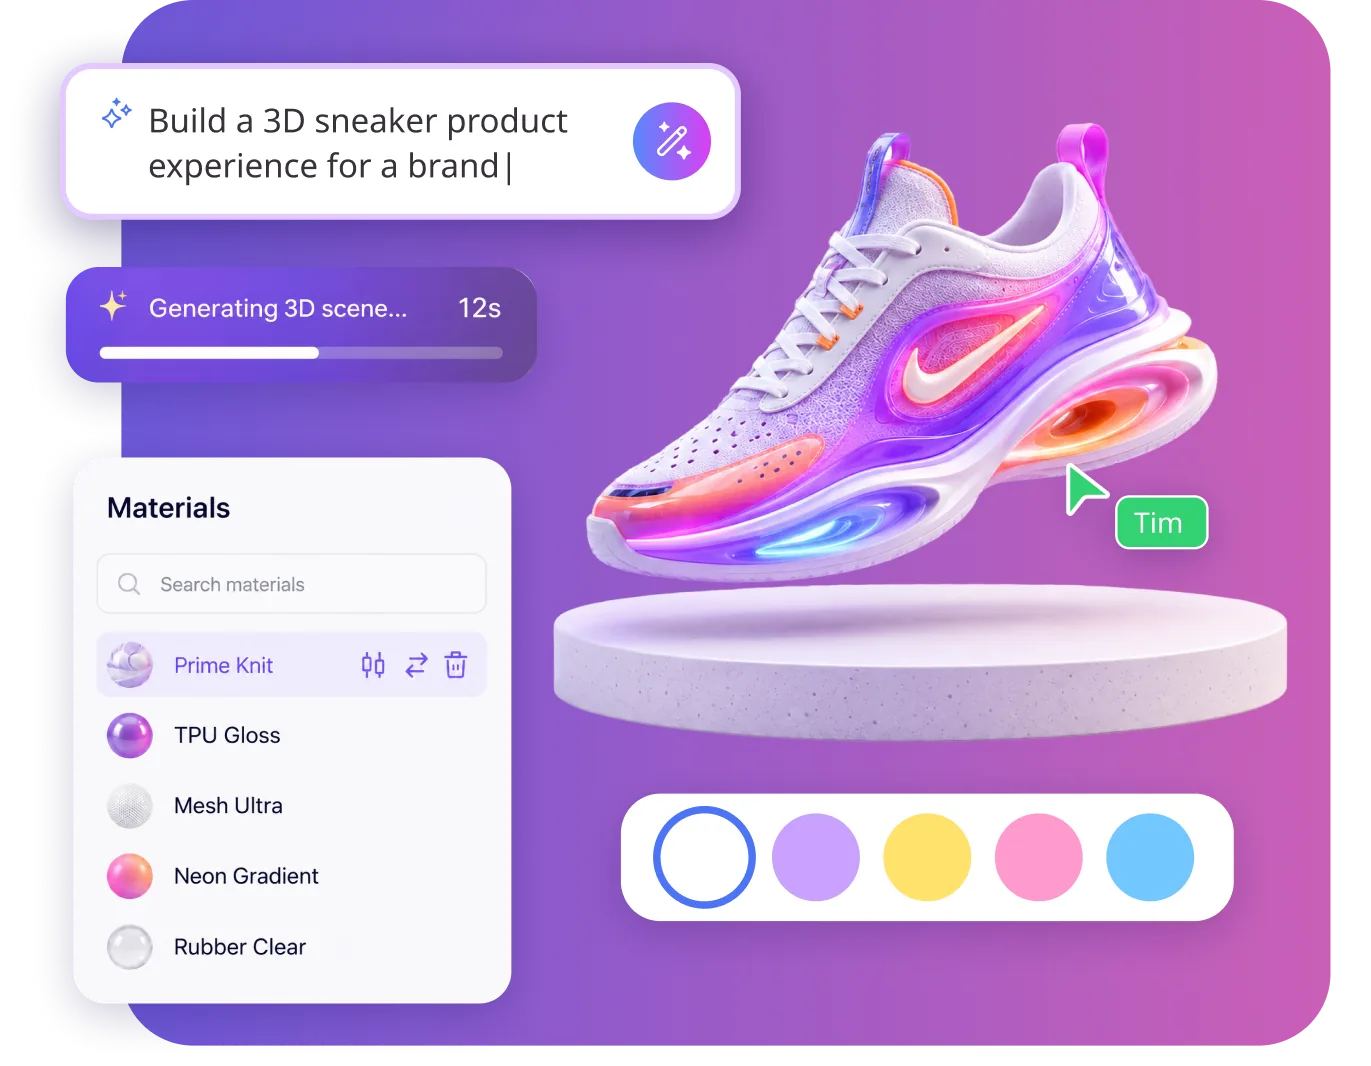 3D on websites
How to add a 3D model to your website and AR to a product page
Embed an interactive 3D scene in your page, add colour variants and a “View in AR” button — no code and no hosting of your own.Read
Try it on your own project
Open a workspace, describe what you want to build and see the first version in the editor. No card, no install.
Start building — free