How to add a 3D model to your website and AR to a product page
Embed an interactive 3D scene in your page, add colour variants and a “View in AR” button — no code and no hosting of your own.
3 min read
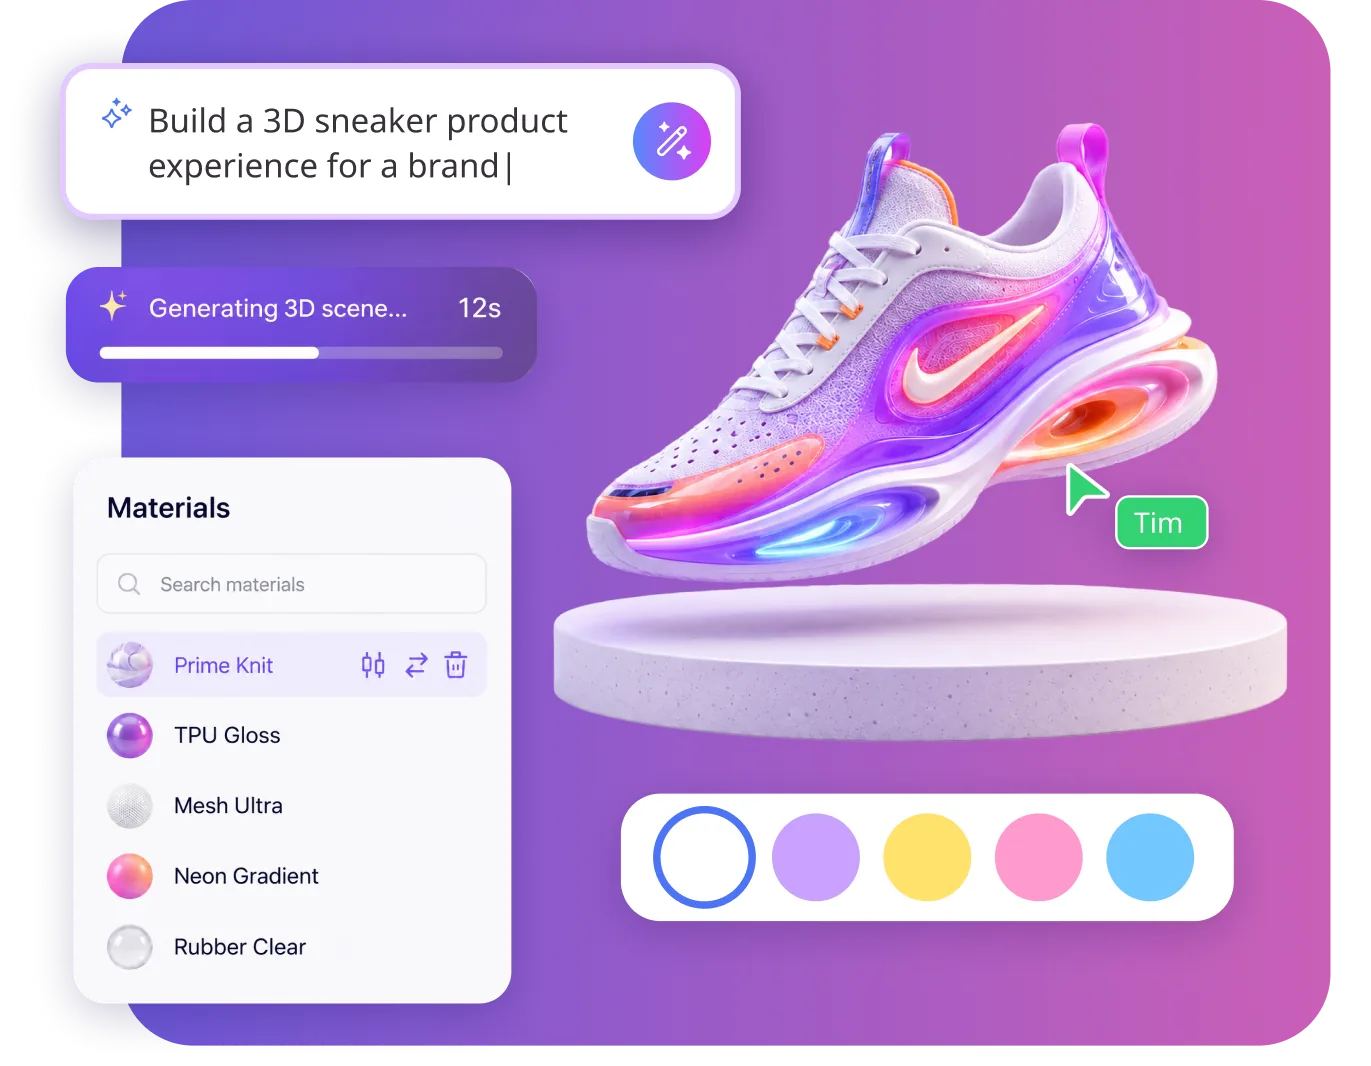
A photo shows a product from one side. A 3D model on the page can be turned, zoomed and looked at from every angle, and in AR it can be placed in the buyer's own home to see whether the sofa fits. Here is how to do both in ARClip, with no code and no hosting of your own.
Step 1. Build a scene with the product
Create a project and drag in the product model: GLB, glTF, FBX and OBJ all work — the editor turns them into GLB on its own. No model? You can make one from a photo.
For a web page, a plain 3D scene works best: it opens straight away, on any device, with no camera. Let the camera orbit the product and limit how far it can tilt, so nobody looks at it from underneath.
Step 2. Add variants
Colours, finishes and trims are states of an object. Give the product a States component with the variants and an Events component: a Set state step shows another variant when the buyer taps a colour swatch or the model itself. No code involved.
- Fabric, metal and glass are built from nodes in the Material editor, and you see the result right away.
- Choice buttons, colour swatches, hints and a price on top of the 3D are made in the UI editor.
- If you need the price of the chosen configuration and a way to buy it, the docs have a ready recipe: a script remembers the choice, shows the price and opens the purchase page with that finish — Product configurator.
- Your own page can switch variants too, and hear which one was picked:
<arclip-viewer>reports it with an event. This takes a few lines of script on your site and works with the scene embedded In the page, not In an iframe.
Step 3. Embed the scene on your site
- Press Publish and publish the project to the Browser.
- In the same window, pick ARClip Viewer and press Copy code.
- Paste the code into the page where the scene should go.
The code is a <script> line and an <arclip-viewer> tag:
<arclip-viewer
  address="my-chair"
  ar
  style="display:block;width:100%;height:480px"
></arclip-viewer>
Your page's styles set the size. Animations, logic and UI all work inside: the page gets a live scene, not just a model to spin around. Any site that lets you paste your own HTML will do.
Step 4. Add AR to the product page
- In the same project, press Add space and set the trigger of the new space's scene to Surface — the product will stand on the floor or a table in the buyer's room.
- Publish the project again.
The embedded scene now has a "View in AR" button: on a phone it opens AR, on a computer it shows a QR code to scan with the phone's camera. The ar attribute in the code turns the button on — without it there is no button.
Rather have your own button on the page? In the publish window, pick the AR space under Opens at: the link and the QR code there lead straight to it.
The buyer opens AR right in the phone's browser, with no app. This works on every plan.
What else a shop can use
- Images and clips for the catalogue. Renders, screenshots and video straight from the editor, plus the Product Shot plugin, which stages a model for a clean product shot.
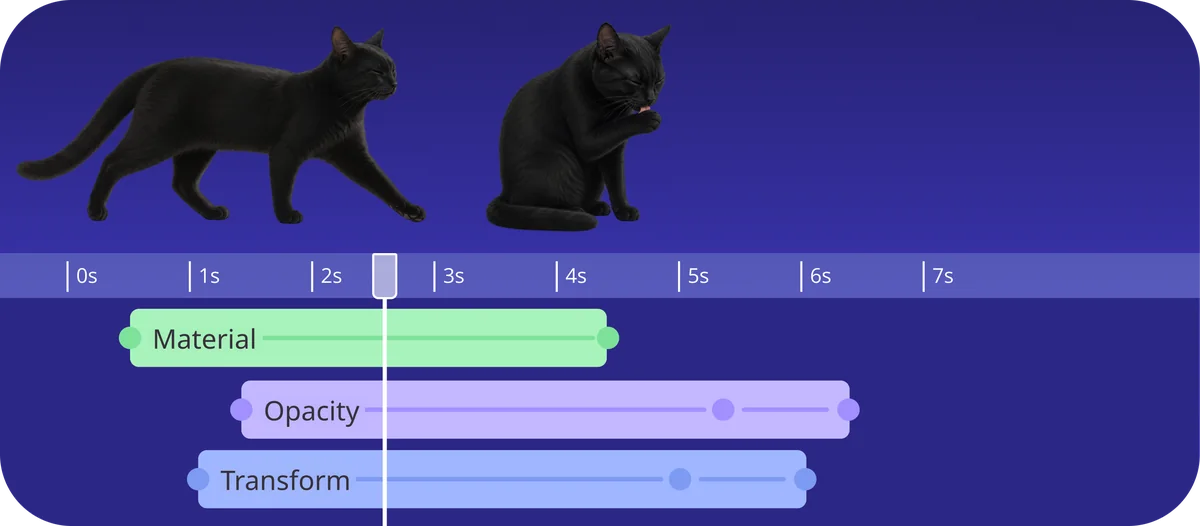
- Product animation. Open a door, take the product apart, show how it works — with keyframes on the timeline.
- Analytics. View counters come with every plan.
- Your own domain — on paid plans.
What isn't there yet
- A ready link to a shop's cart: buying happens through a link.
Choosing between services? We compared ARClip with popular ones honestly: ARClip or Sketchfab, ARClip or Threekit, ARClip or Zakeke. Spline and Vectary are on the comparisons page.
More from the blog
 AI & agents
3D model from a photo: make it and show it in AR
Turn a photo of an object into a 3D model with AI, place it in a scene and open it in AR on a phone. Step by step, plus what makes a good photo.Read Games
GamesA multiplayer 3D browser game with no server of your own
Build a 3D game for several people that opens from a link: players, spawn points, shared objects and a score — no server of your own and hardly any code.Read
Try it on your own project
Open a workspace, describe what you want to build and see the first version in the editor. No card, no install.
Start building — free