WebAR without an app: AR from a link and a QR code
What WebAR is, which scenes run right in a phone's browser, and how to build and publish your first one in an evening — no app, no code.
4 min read
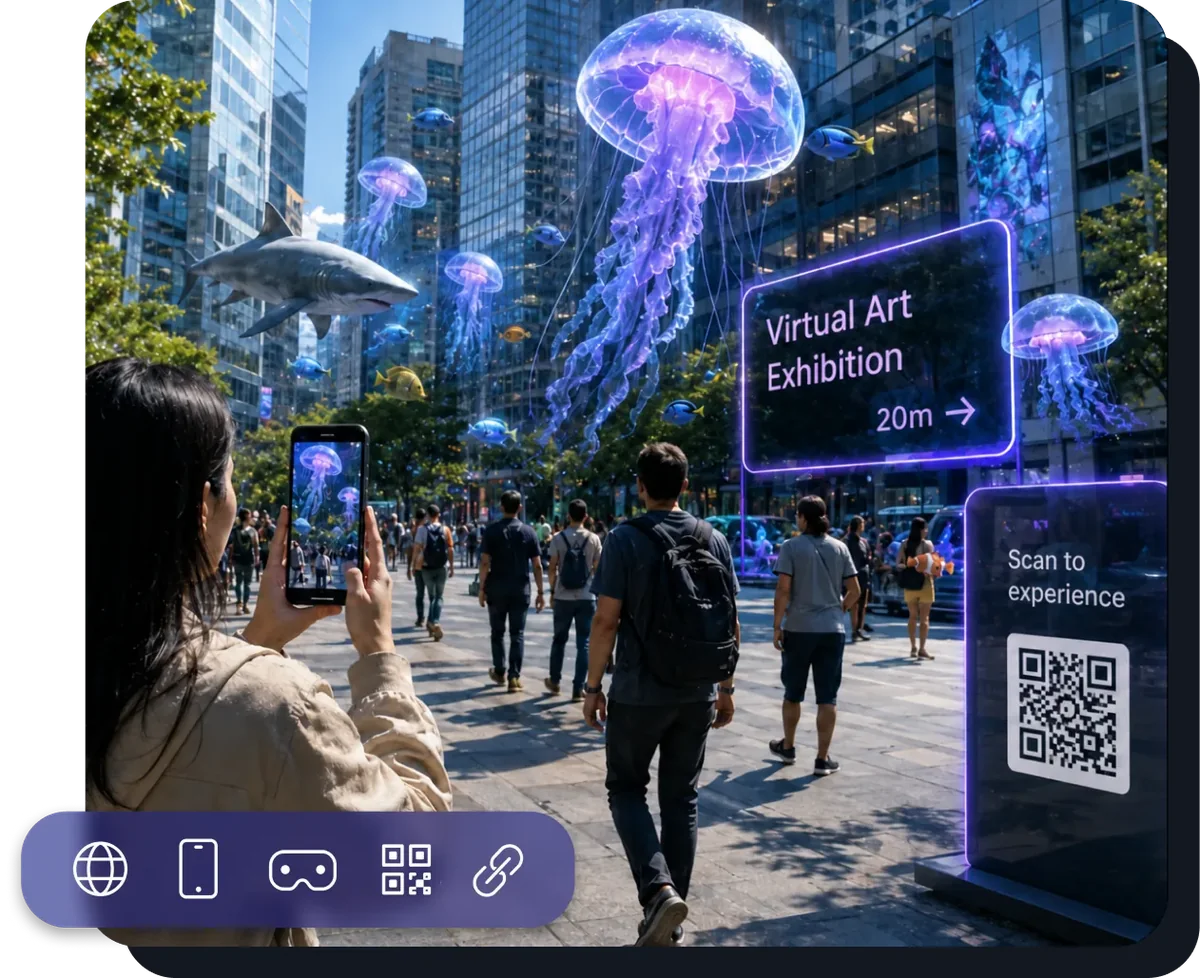
WebAR is augmented reality that opens right in a phone's browser. Nobody has to find an app in a store, install it or sign up: they point the camera at a QR code or open a link, and a few seconds later they see 3D on top of the real world.
For a business, that is the whole point. Every extra step between "saw it" and "tried it" loses people, while a link works wherever your audience already is: on the packaging, in a newsletter, on social media, at a booth.
What you can do without an app
In ARClip every scene has a trigger — the thing that starts it:
- Image or QR — packaging, a poster or a business card comes alive: the camera recognises the picture, and a model, a video or an interface appears on it.
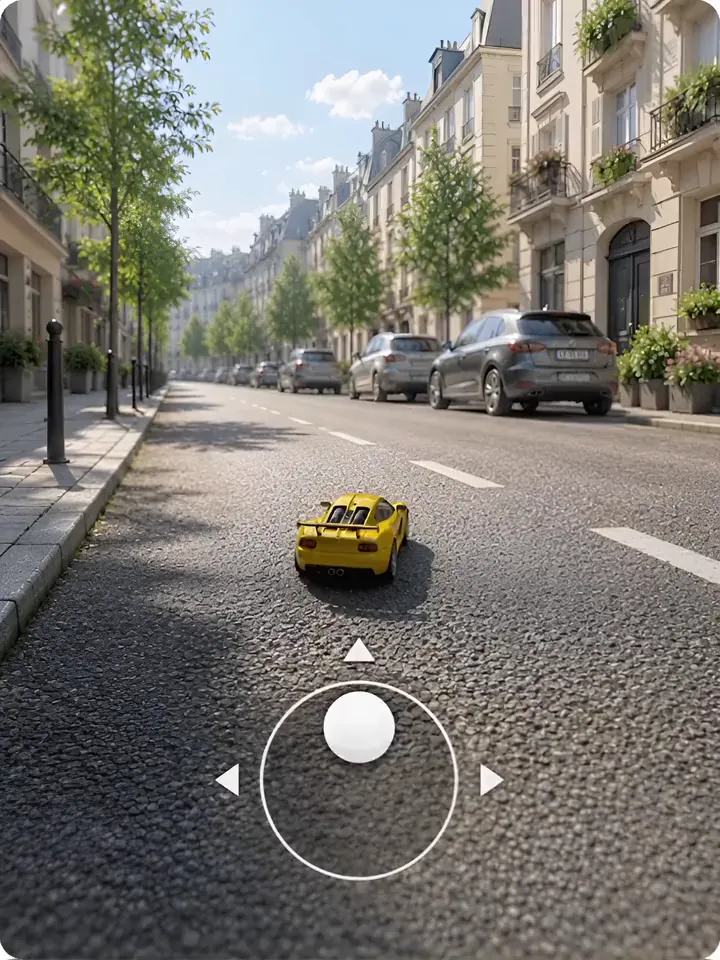
- Surface — a product stands on the floor or a table in the viewer's room: furniture, appliances, an art piece at full size.
- Face — masks, filters and try-ons for glasses or jewellery.
- 360° — the viewer steps inside a panorama: a tour, an interior, an event.
- VPS — content appears at an exact spot in a real place, such as next to the right exhibit in a museum. You capture the place's map with the ARClip app on iPhone.

Where it opens
One project, one link for every device:
- Phones. Android phones and iPhones open the scene in the browser from a link or QR code.
- iPhone through an App Clip. The project opens from a link, a code or an NFC tag — again with nothing to install.
- Computers. 3D scenes open as they are, and for AR on a picture or a face the site shows a QR code for the phone.
- VR headsets. The same link in the headset's browser, through WebXR.
Your first scene in an evening
- Sign up for ARClip and create a project — the editor opens.
- In the Scenes panel, select the scene and set its trigger to Image. Upload the picture you will print and enter its real width, so the content shows up at the right size.
- Drag a 3D model onto the canvas. GLB, glTF, FBX and OBJ all work — the editor turns them into GLB on its own. No model? Find a ready-made one in the library or generate one from a description.
- Make it react to a tap: a States component with the model raised, and an Events component with a Set state step. No code involved.
- Press Publish to get a link and a QR code. Print the QR next to the picture, or put it wherever people will see it.
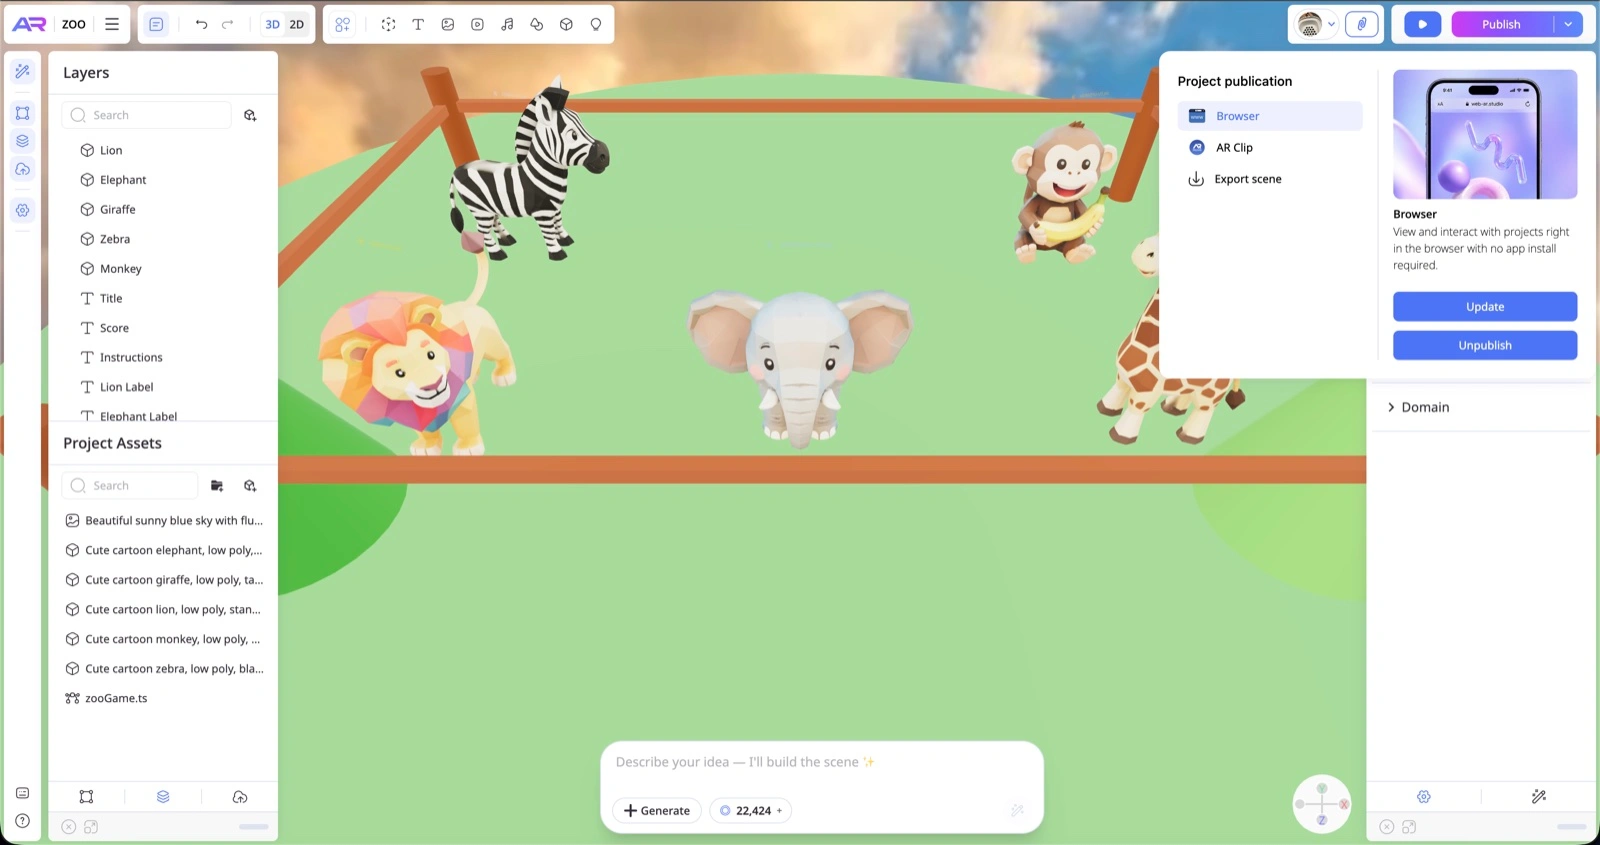
The full walkthrough, with pictures, is in the docs: First project.
Keep it fast
- Light models. Hundreds of thousands of polygons and 8K textures slow down even new phones. A few megabytes is usually plenty for AR.
- A detailed marker image. A photo with contrasting detail tracks well; a logo on white does not — the camera has nothing to hold on to.
- Test on two phones. Open the link on an iPhone and on an Android phone before the artwork goes to print.
- Analytics. View counters come with every plan, so you can see how many people opened the scene.
What it costs
Publishing on ARClip is free, with no limits on projects or views. A custom domain and AI credits for generation come with paid plans.
How ARClip compares
We compared ARClip with popular WebAR builders honestly — where we are stronger, where they are, and what to pick for your job: ARClip or Zappar, ARClip or MyWebAR, ARClip or Blippar. The rest are on the comparisons page.
More from the blog
 AI & agents
3D model from a photo: make it and show it in AR
Turn a photo of an object into a 3D model with AI, place it in a scene and open it in AR on a phone. Step by step, plus what makes a good photo.Read 3D on websites
How to add a 3D model to your website and AR to a product page
Embed an interactive 3D scene in your page, add colour variants and a “View in AR” button — no code and no hosting of your own.Read
Try it on your own project
Open a workspace, describe what you want to build and see the first version in the editor. No card, no install.
Start building — free